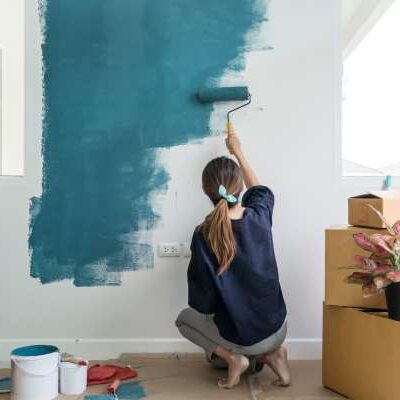
Tips for Kitchen Painting
Kitchens usually have fewer walls, making painting simpler than bedrooms or living rooms. Wall cabinets, base cabinets, and backsplashes take up the majority of wall space in the kitchen. However, despite its tiny size, the remaining space normally needs much cleanup and preparation before painting.
Preparation
The first steps in painting a kitchen are to choose the paint to use, calculate how much will be needed, and cover and mask all surfaces. Due to the potential for grease buildup in kitchens, it is recommended to decrease the walls before priming.
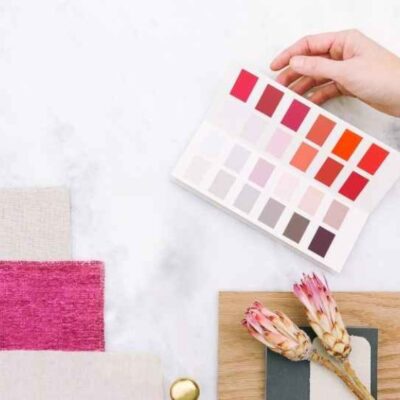
Pick Out a Kitchen Coating and Color
Finishes on paint may be compared to the range of colors on a color fan. Matte is seldom advised since it is difficult to clean, and beads of moisture will produce streaks, while satin and semi-gloss are common choices, such as the best paint finish for the kitchen.
Pick Out Areas That Need New Paint
Typical of a kitchen in a brand new building, there won’t be a single object but a wallboard. You can determine how much space is contained by each wall by multiplying the room’s height (about 8 feet) by its width (variable). Eventually, the sum of all walls will be determined.
To complete a kitchen makeover, new cabinets, appliances, flooring, and more will be installed. This time around. It’s a lot more cramped in here than it would be in an empty room. One simple solution is to purchase enough paint to cover all walls as if they were vacant. You may always use an extra coat of paint for touchups.
Mask and Cover
The unfurnished room has no completed floor. Therefore, there is no use in masking or covering it. The flooring material will hide any stains the subfloor may have received from paint spills. Plastic should be hung over doors leading to other rooms if a paint sprayer is used to prevent paint mist from spreading.
Before painting the walls, tape off the room’s trim to protect it from the paint. Spread a drop cloth made of canvas out on the ground—cover major furniture, appliances, and counters with plastic sheeting or masking film.
Items Needed
Equipment/Tools
- Paintbrush: 2 1/2 inches in diameter
- Structure and casing for a roller
- Lining and paint tray
- The fabric is used as a drop cloth, often made of canvas.
- Protective eyewear
- Store-Bought Vacuum Cleaner
- The Use of Tack Cloth
- Cotton rags, soft and pristine
Materials
- Use of acrylic-latex paint in the interior
- Primer
- The use of a cover-up film
- Rolls of painter’s tape
- TSP (trisodium phosphate)
Instructions
Scrub Down All Painting Surfaces
A thorough washing of the kitchen walls is required unless you deal with a brand-new drywall installation in an empty area. Clean the surfaces above and around the stove, oven, and countertops with warm water and TSP. TSP cleaning is also effective on door trim in most cases. To clean the tops of baseboards and trims, use a vacuum, moist cloth or tack cloth to remove dust and cobwebs.
Put on the Primer
Priming is usually unnecessary if the previous coat of paint is in excellent condition and has not been damaged. Drywall, wood, and painted surfaces in bad condition must be primed before being painted.
Tip
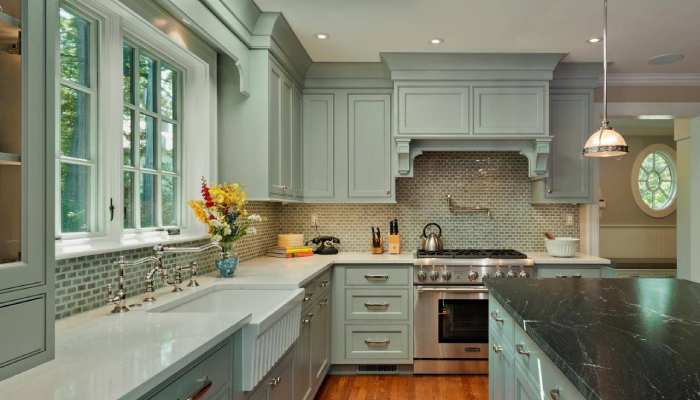
Paint the walls of a vacant kitchen using a roller or sprayer. To paint a fully equipped kitchen, use a roller for the major areas and a brush for the narrow strips, such as between the backsplash and the cabinets. Use a brush only for window and door casings.
Large Areas Should Be Rolled
Find out where the roller can go and where it won’t fit. Remove the extra paint from the roller cover, fill it with paint, then roll it back and forth to release it. The huge wall area may be rolled in a W pattern, with each part covering an area around 4 feet by 4 feet. Start by rolling up to the painter’s tape, which should be within an inch or two of the roller.
Brush the Paint On
The paint needs around two hours to dry. Wet the paintbrush and painstakingly cover the area the roller missed. You can prevent paint from dripping by applying it sparingly and re-brushing. Time has probably passed in regions where painting occurred more than a few minutes ago. Arms that were last painted a while ago should not be repainted.
Use More Containment
The color becomes richer and fully develops when the paint is put in two or even three coats. Allow the paint to dry for at least two hours before rolling it out again and brushing it on.
Related Posts
Tips on Testing Paint Samples and Choosing Colors Based on Lighting

Review of Environmentally Friendly Paints and Their Benefits

Best Paint Colors for Small Spaces

DIY vs. Hiring a Professional Painter: Which Option is Right for You?
Reviving Relics: A Guide to Repainting Old Furniture
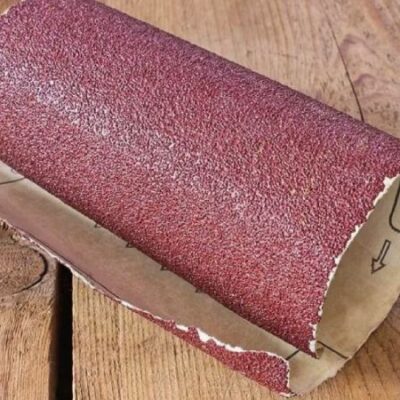
Navigating the Grain: A Guide to Choosing the Right Sandpaper Grit
Unleash Your Creativity: Innovative Techniques for Interior Painting
How to Repaint a Room: A Step-by-Step Guide

Choosing the Best Brands of Interior Paint