Navigating the Grain: A Guide to Choosing the Right Sandpaper Grit
Sandpaper is a humble yet indispensable tool in the world of woodworking, DIY projects, and surface finishing. However, not all sandpapers are created equal, and selecting the right grit for your task can make all the difference between a smooth, polished finish and a rough, uneven surface. In this comprehensive guide, we’ll explore the intricacies of sandpaper grit, helping you navigate the grain to choose the perfect abrasive for your project.
Understanding Sandpaper Grit
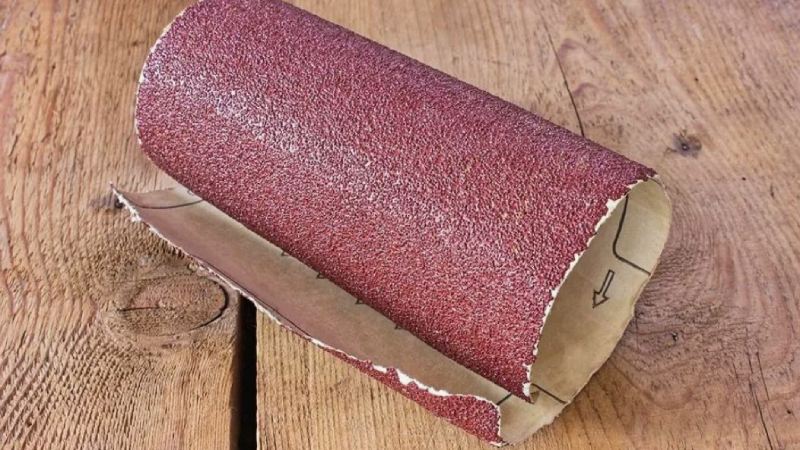
Sandpaper is classified by its “grit,” which refers to the size of the abrasive particles embedded in the paper. Grit sizes typically range from very coarse (low grit) to very fine (high grit), with each level of coarseness serving a specific purpose in the sanding process.
Choosing the Right Grit
- Coarse Grits (40-60): Coarse-grit sandpapers are best suited for heavy material removal, such as stripping paint, shaping wood, or smoothing rough surfaces. Use coarse grits to quickly level uneven areas or remove deep scratches and imperfections.
- Medium Grits (80-120): Medium-grit sandpapers are ideal for general sanding and smoothing tasks. They are effective at removing light scratches, preparing surfaces for painting or staining, and refining the work done with coarser grits.
- Fine Grits (150-180): Fine-grit sandpapers are used for finishing and smoothing surfaces to a high level of refinement. They are excellent for removing fine scratches, preparing surfaces for final finishes, and achieving a smooth, polished appearance.
- Very Fine Grits (220-400+): Very fine-grit sandpapers are reserved for ultra-smooth finishes and delicate materials. They are commonly used in between coats of finish to achieve a glass-like surface, or for sanding intricate details where precision is paramount.
Matching Grit to Task
- Material Type: Consider the material you’re working with when selecting sandpaper grit. Harder materials may require coarser grits for effective material removal, while softer materials may benefit from finer grits to prevent excessive damage.
- Surface Condition: Assess the condition of the surface you’re sanding. Rough or heavily damaged surfaces will require coarser grits to start, while smoother surfaces may only need fine grits for finishing touches.
- Project Goals: Determine your desired outcome for the project. If you’re aiming for a rustic, textured finish, you may not need to progress to the finest grits. However, if you’re striving for a flawless, mirror-like surface, you’ll want to work your way up to the highest grits available.
Tips for Effective Sanding
- Progressive Sanding: Start with a coarse grit and work your way up to finer grits in a systematic manner. Each successive grit should remove the scratches left by the previous one, leading to a smoother finish.
- Use Light Pressure: Apply even pressure when sanding, using light, fluid motions to prevent uneven sanding and excessive material removal.
- Change Sandpaper Regularly: Replace worn-out sandpaper regularly to maintain optimal performance and prevent scratches caused by dull abrasives.
- Sand with the Grain: Always sand in the direction of the wood grain to avoid cross-grain scratches and achieve a smoother finish.
Conclusion
Choosing the right sandpaper grit is essential for achieving professional-quality results in your woodworking and DIY projects. By understanding the characteristics of different grits and matching them to the requirements of your task, you can ensure a smooth, polished finish every time. So, the next time you reach for your sandpaper, remember to consider the grain and choose wisely for a flawless finish that shines.
Related Posts

Tips on Testing Paint Samples and Choosing Colors Based on Lighting

Review of Environmentally Friendly Paints and Their Benefits

Best Paint Colors for Small Spaces

DIY vs. Hiring a Professional Painter: Which Option is Right for You?
Reviving Relics: A Guide to Repainting Old Furniture

Unleash Your Creativity: Innovative Techniques for Interior Painting
How to Repaint a Room: A Step-by-Step Guide

Choosing the Best Brands of Interior Paint

The art and science of indoor painting: a comprehensive guide