Mastering the art of painting: a step by step guide to using a paint roller
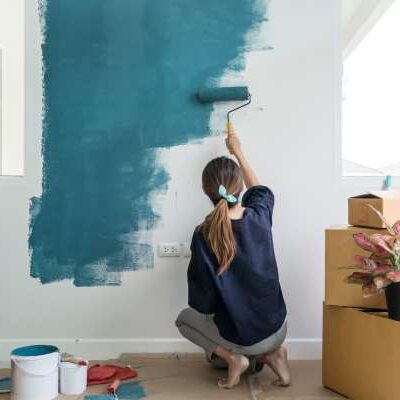
Diving into a DIY painting project can be both exciting and intimidating, but with the right technique, using a paint roller can lead to stunning results that even professionals would envy. Whether you’re refreshing a room or adding a splash of color to your home, mastering the use of a paint roller is a valuable skill. Follow this step-by-step guide to ensure your walls look perfectly polished, with an even coat and a smooth finish.
Selecting Your Paint Roller
Before you start painting, choosing the right roller is crucial for the task at hand:
- Roller Size: For most interior walls, a 9-inch roller is ideal. Smaller rollers (4-6 inches) are great for furniture and cabinets, while larger rollers (12-18 inches) are best for very large surfaces.
- Nap Length: The texture of your painting surface determines the nap length. Use a short nap (1/4 inch) for smooth surfaces like plaster or drywall, and a longer nap (3/4 inch or more) for textured surfaces like stucco or brick.
Preparing Your Paint Roller
- Priming the Roller: If you’re using a new roller cover, consider priming it with water (for latex paint) or paint thinner (for oil-based paint) to remove any loose fibers and to help it absorb the paint more evenly.
- Attaching the Roller Cover: Slide the roller cover onto the roller frame, ensuring it’s snug and secure.
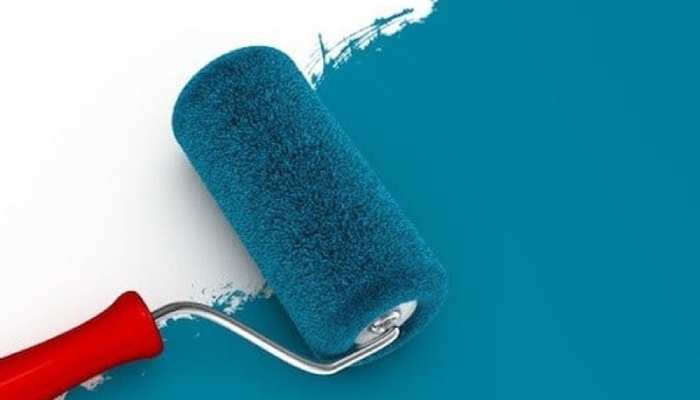
Loading the Roller with Paint
- Pour the Paint: Fill the paint tray with enough paint to cover the bottom but not submerge the entire roller.
- Dip and Roll: Gently dip the roller into the paint, letting it soak up the paint. Then, roll it back and forth on the tray’s ramp to evenly distribute the paint across the roller.
Applying Paint to the Wall
- Start with a ‘W’ or ‘M’ Pattern: Begin in a small section of the wall. Roll on a large ‘W’ or ‘M’ pattern, about 3 to 4 feet wide, without lifting the roller. This method helps ensure even coverage.
- Fill in the Pattern: Use vertical strokes to fill in the pattern, blending the edges as you go. This technique reduces streaks and ensures a uniform coat.
- Keep a Wet Edge: Always overlap slightly with the previously painted area to avoid lap marks and ensure a smooth finish.
Finishing Touches and Cleanup
- Even Out the Paint: Once you’ve covered a wall section, lightly re-roll over the area from top to bottom without adding more paint. This “laying off” technique smooths out the finish.
- Clean Your Roller: For latex paint, wash the roller cover and frame with soap and warm water. For oil-based paints, use mineral spirits. Proper cleaning and storage will extend the life of your roller.
Pro Tips for a Perfect Finish
- Avoid Pressing Too Hard: Let the roller do the work. Excessive pressure can lead to uneven coverage and texture.
- Quality Matters: Invest in a high-quality roller to achieve a smoother finish and save time on your project.
- Practice First: If you’re new to using a paint roller, practice on a spare piece of cardboard or drywall to get comfortable with the technique.
With these steps and tips in mind, you’re all set to tackle your painting project with confidence. Remember, the key to a professional-looking finish is patience, preparation, and the right painting technique. Happy painting!
Related Posts
Tips on Testing Paint Samples and Choosing Colors Based on Lighting

Review of Environmentally Friendly Paints and Their Benefits

Best Paint Colors for Small Spaces
DIY vs. Hiring a Professional Painter: Which Option is Right for You?
Reviving Relics: A Guide to Repainting Old Furniture
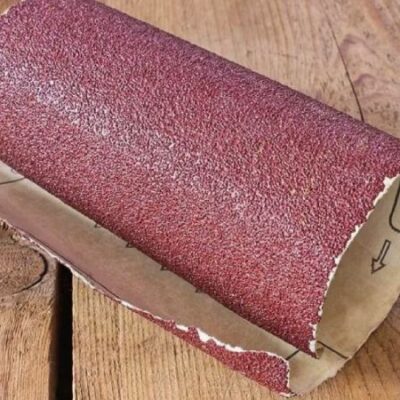
Navigating the Grain: A Guide to Choosing the Right Sandpaper Grit
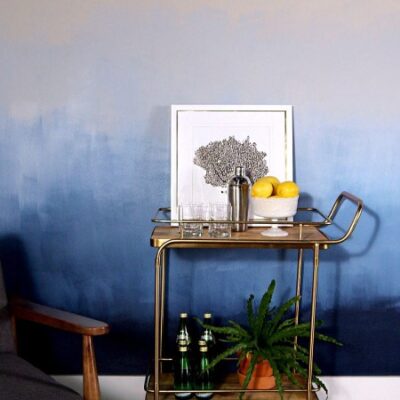
Unleash Your Creativity: Innovative Techniques for Interior Painting
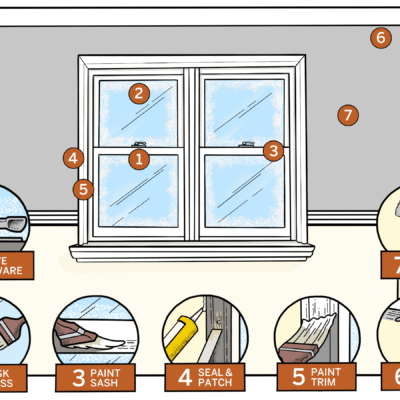
How to Repaint a Room: A Step-by-Step Guide

Choosing the Best Brands of Interior Paint