The art and science of indoor painting: a comprehensive guide
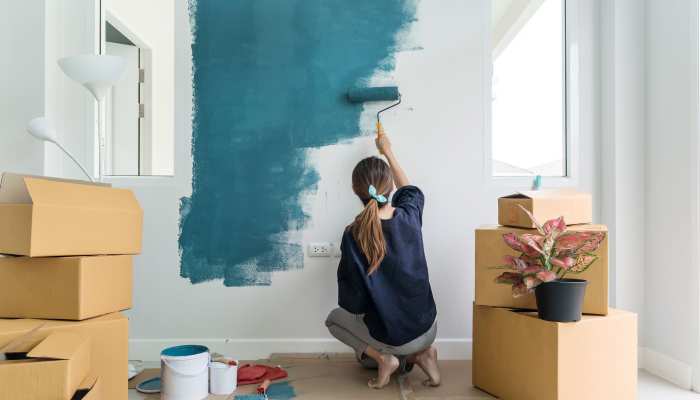
Indoor painting is more than just a way to change the color of your walls; it’s an opportunity to transform your living space. Whether you’re looking to refresh a single room or overhaul your entire home, understanding the intricacies of indoor painting can make the process smoother and more enjoyable. This guide provides essential tips and techniques for achieving professional-quality results in your indoor painting projects.
Preparation: the key to a flawless finish
- Choose the Right Paint. Selecting the right type of paint is crucial. Consider the room’s function – kitchens and bathrooms benefit from moisture-resistant paints, while living areas may require more durable, washable paints.
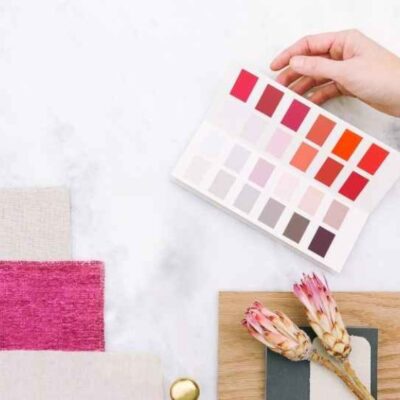
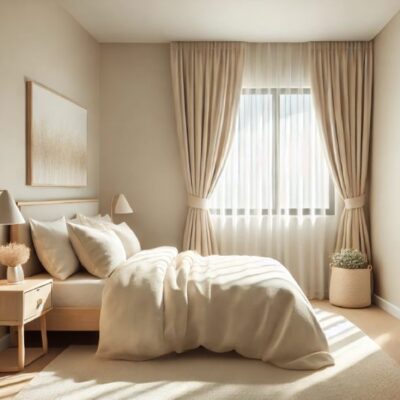
- Color Selection. Color choice can dramatically affect the mood of a room. Light colors make spaces feel larger and more open, while dark colors can create a cozy, intimate atmosphere.
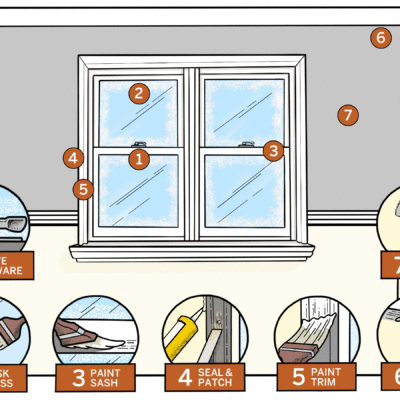
- Preparing the Room. Remove or cover furniture and protect floors with drop cloths. Clean walls thoroughly to remove dust and grime for better paint adhesion.
- Priming. Applying a primer is essential, especially when painting over dark colors or patching substantial wall damage. Primer ensures a uniform paint application and true color representation.
Tools and techniques
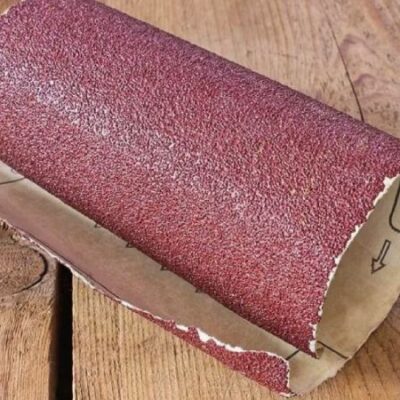
- Essential Tools. You will need brushes, rollers, paint trays, painter’s tape, and sandpaper. Invest in high-quality brushes and rollers for a smoother finish.
- Brush or Roller? Use brushes for edges and hard-to-reach areas and rollers for larger, flat surfaces. For textured walls, thicker nap rollers can better navigate the surface.
- Painting Techniques. Start from the ceiling and work your way down. Use painter’s tape for clean edges. Apply paint in a ‘W’ or ‘V’ pattern and then fill in the spaces for even coverage.
Managing common challenges
Drips and Streaks. Avoid overloading your brush or roller to reduce drips. If drips occur, smooth them out immediately with a brush or roller.
Uneven Coats. Apply multiple thin coats rather than a single thick coat. Allow adequate drying time between coats, as recommended by the paint manufacturer.
Working with Textured Walls. Textured walls require more paint and a different approach. Use rollers with a thicker nap and dab paint into crevices with a brush.
Finishing touches
- Cleanup. Clean brushes and rollers immediately after use. Store leftover paint for future touch-ups.
- Final Inspection. Once the paint is dry, inspect your work in different lighting conditions to ensure even coverage and color consistency.
Conclusion
Indoor painting can be a rewarding DIY project that revitalizes your space. With the right preparation, tools, and techniques, you can achieve a professional-looking finish that reflects your personal style. Remember, patience and attention to detail are as important as the paint you choose. Happy painting, and enjoy your transformed space!

