How to Paint a Room Like a Professional
As a new homeowner and veteran, it’s crucial to learn DIY ways to paint your home. Learning how to paint your house using DIY methods is essential and easy. Painting is cheap and painless; even if something goes wrong, correcting it is easy. However, before you start painting, you need to have a plan on how to go about it. To ensure your painting project succeeds, you should read these step-by-step guidelines on how to paint a room.
Plan Your Approach
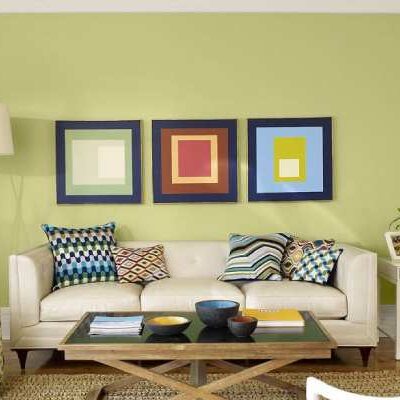
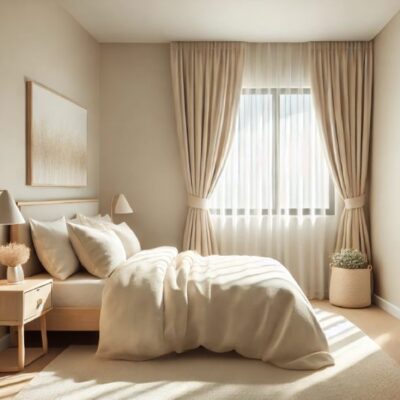
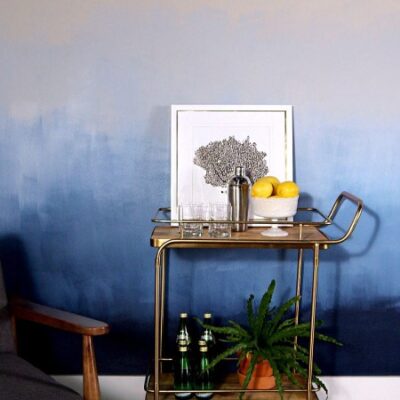
The first step is to have a picture of how you want your painted room to look. You need to be innovative since you are not limited to using only one color on all four walls. You can use a bold hue or highlighting moldings in a different shade or finish. Remember, your ceiling could also need some refreshing to make the room look better.
Choose Your Color
You should know the right color to paint your house. If you want to use different shades, you must have samples and test to see how the room will look when you use those shades. Don’t forget that the shade needs to complement your existing furniture. You need to ask yourself whether you need a warm or cool shade, neutral or saturated shade.
Pick Your Tools and Materials
Not all projects will need the same tools. However, the following are common:
- drop cloths;
- paint;
- paint tray;
- paint roller;
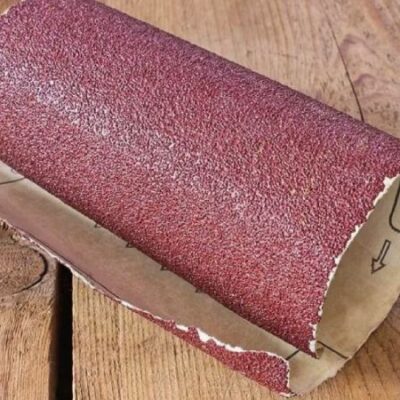
- sandpaper;
- paint roller extension pole;
- putty knife;
- paintbrush;
- rags;
- painter’s tape.
Know the Amount of Paint You Will Need
The rough idea is to have one gallon for every 400 square feet. There are different factors that will determine how much paint you will need for your room, so it’s not a must to stick with the rule of one gallon for 400 square kilometers. You may need more of this if going from dark to light or using a deep color base. The best way to come up with the right paint is by using a paint calculator. Before you paint your room, apply a gray tint to the surface before painting a saturated color to reduce the use of paint. Making the finish glossier will increase the coverage rate, but you should have more gallons, just in case. If you’re painting a highly textured surface than a smooth surface, ensure you have 10 % extra than the calculated paint.
Prepare the Walls and the Room
If there are properties in the room, relocate them to another room, or you can push them to the center of the room to create a good space for painting. Then, cover the pieces, the countertops, and the floor with a drop cloth or lightweight plastic sheeting.
Take a roll of painter’s tape and apply the edges of all the corners of the room, crown moldings, and the base and ensure the tape is firm. Windows and doors should also be firmly secured using painter’s tape. Get rid of the light switch and outlet covers, then apply painter’s tape. Furniture and floors should be protected with drop clothes.
Mix Your Paint
If you use more than one gallon of paint, take a large bucket, put all your paint in the bucket, and stir using a wooden paint stick. You must have the paint stirred consistently to stop the ingredients from separating, which will compromise the actual color. So keep stirring the paint every time you apply it to a wall.
Pick Your Painting Skills
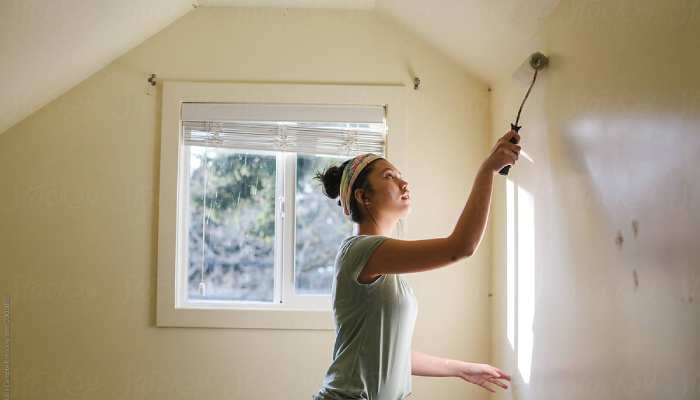
Plan how you are going to do the painting. You should start with the top of the wall going down, and ceilings should be your starting point. After the ceiling start with the white-colored walls. If the light color spills on the wall you want to paint dark colors, don’t worry since the dark paint will cover the bright paint. To cover up the dark walls with bright paint, use three coats: primer and the two coats of the new color.
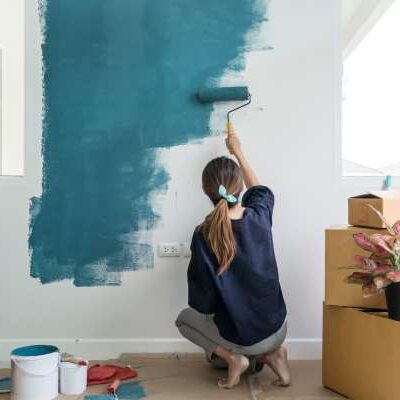
Paint every wall at a time. Cut a brush and use it to paint along the corners and the molding painting from top to bottom. Your helper should use a roller to cover the major expanse of the wall. If you are using a roller, use long strokes in a W pattern to cover more area. Wait for the wall to dry to the touch and apply the second coat.
When painting the trim, remove the painter’s tape. Check whether the wall is dry and apply tape to the walls. Begin with the trip closet, then to the ceiling, move to the window and frames, and finish with baseboards.
Remember the Ventilation
Open all the ventilations and use fans in your project to speed up the drying process.
Clean up
Remove drop clothes and painter’s tape and ensure all the spills and splatters are dry first. Next, clean your brushes with soapy water if the paint is latex or water-based, while oil-based paints will require mineral spirit to clean. If bristles exist, use a painter’s brush to clean and reshape them. Finally, to remove the surplus paint, use a curved roller with the curved edge of the 5-in-1 tool.
Have Enough Time
Take your time to finish the job if you want to come up with a beautiful project. Allocate enough time depending on the size of the project. Your skills and experience will also determine how much time you will spend on the project. Budget for extra time than you think the project will take.
Related Posts
Best Paint Colors for Small Spaces

DIY vs. Hiring a Professional Painter: Which Option is Right for You?
Reviving Relics: A Guide to Repainting Old Furniture
Navigating the Grain: A Guide to Choosing the Right Sandpaper Grit
Unleash Your Creativity: Innovative Techniques for Interior Painting
How to Repaint a Room: A Step-by-Step Guide

Choosing the Best Brands of Interior Paint
The art and science of indoor painting: a comprehensive guide

Mastering the art of painting: a step by step guide to using a paint roller