How To Paint Trim
Requirements
- A dump sponge
- Paint sticks
- Painter’s tape
- Paint brushes – 2″ angled brushes
- Paint trays
- Spackle
- Tack cloth
- Sherwin – Williams interior primer
- Spackling/putty knife
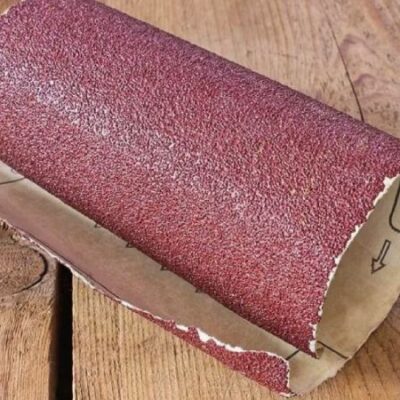
- Sandpaper – 80 grit, 100 grit, and 120 grit
- Interior latex paint – high gloss or semi-gloss finish
Procedure
Part One: Preparing The Trim
1. The first step involves removing dirt and grime from the trim with a damp sponge. To do it efficiently and successfully, it’s advisable to do this using the rough side of the damp sponge.
2. The second step is sanding the trim surface. After this, ensure you wipe the trim using your damp sponge-this help to remove any dust that may have resulted from the sanding process.
Hint: For a new or smooth trim, sand lightly using 120-grit sandpaper and ensure no more shine on the trim. For a rough and won trim, begin the sanding with a coarse 80-grit sandpaper, then finalize with a less coarse sandpaper like 100-grit or 120-grit sandpaper.
3. In this step, use a lightweight spackling compound to fill all the holes, cracks, and dents. Wait for the spackle to dry, and then use 120-grit sandpaper to sand the spackled area lightly. If there is any sanding dust left on the trim, remove them using a tack cloth.
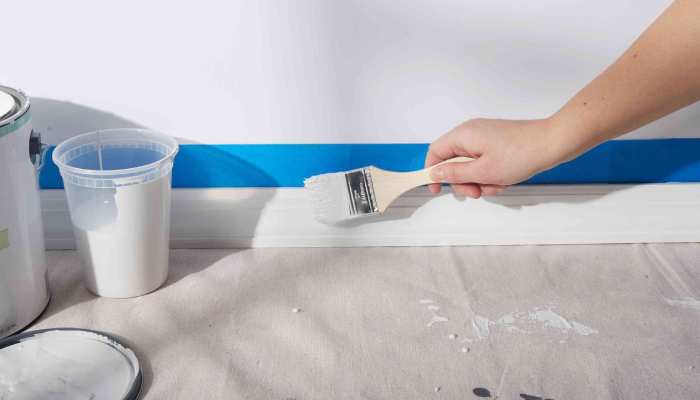
4. Next, dust off ceilings and walls around the trim. Then apply the painter’s tape to the ceilings and walls surrounding the trims. Be careful to avoid sticking the painter’s tape on the trim itself. Do this repeatedly to avoid until the painter’s tape is secured to the trim’s length.
5. Now, the tape is fully applied. Now use your spackling/putty knife to facilitate the adhesion.
Part Two – Painting the Trim
1. Apply your primer to the trim and cover all the spackled areas and bare wood. Wait for at least 24 hours for the primer to dry. After the drying, check whether any spackle or wood is showing up. If there’s, add another layer of primer coating to the trim.
Hint: Use a paint stick to thoroughly mix the primer, then put a small amount into the paint.
Dip your angled brush into the primer so that only 1/2 to 1 inch of it is submerged.
Use the paint tray’s sides to remove the excess primer from the brush.
2. Once the primer has dried, use 120 grit sandpaper for sanding the trim lightly. This helps to remove paint drips and brush strokes from the trim. Finally, wipe the trim using a damp cloth to remove any sanding dust.
3. Now apply the paint to the trim with the help of short, horizontal brush strokes. Do this repeatedly until a significant portion of the trim is covered (don’t cover the entire trim)
Hint: Use a paint stick to thoroughly mix the paint, then add a small amount to the paint tray.
Dip your angled brush into the paint so that only 1/2 to 1 inch of it is submerged.
Use the paint tray’s sides to remove the excess paint from the brush.
4. In this step, drag your brush in a lengthy motion to smoothen the short brush strokes. Repeat until satisfied, and ensure you don’t add more paint.
Hint: For wider trims, you might require to make up to four or three parallel strokes. However, thinner trim would need approximately one to two parallel strokes.
5. Continue painting other trim sections, observing the above steps 3 and 4. Repeat until you are done painting the whole trim.
6. Pull the painter’s tape off the ceiling/walls before the paint dries.
Related Posts

Tips on Testing Paint Samples and Choosing Colors Based on Lighting

Review of Environmentally Friendly Paints and Their Benefits

Best Paint Colors for Small Spaces

DIY vs. Hiring a Professional Painter: Which Option is Right for You?
Reviving Relics: A Guide to Repainting Old Furniture
Navigating the Grain: A Guide to Choosing the Right Sandpaper Grit

Unleash Your Creativity: Innovative Techniques for Interior Painting
How to Repaint a Room: A Step-by-Step Guide

Choosing the Best Brands of Interior Paint