A Guide to Matching Paint Colors Already on Your Wall
Whether you’re renovating, touching up, or simply trying to maintain the consistency of your home’s appearance, matching paint colors that are already on your walls can be a challenging endeavor. While it might seem like an intimidating task, armed with the right strategies and techniques, you can achieve seamless results that make any patchwork or touch-up virtually invisible. In this guide, we’ll walk you through the process of successfully matching paint colors already on your wall.
1. Gather Necessary Information
Before you begin the color matching process, gather as much information as possible about the existing paint color. Look for the paint can or any leftover paint chips from the original paint job. The paint can’s label or the manufacturer’s information can provide you with essential details like the color name, code, and sheen (e.g., matte, satin, gloss).
2. Seek Professional Assistance
If the original paint details are unavailable or if you’re having trouble identifying the exact color, consider seeking professional assistance. Many paint stores and home improvement centers offer color matching services. They can use specialized equipment to scan a sample of the existing paint and create a custom-matched color formula.
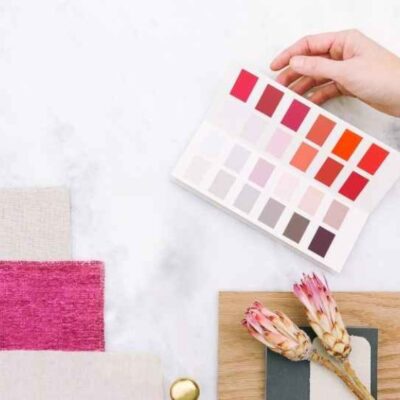
3. Use a Paint Chip for Matching
If you have a paint chip from the original paint job, this can be an invaluable tool for color matching. Remove the chip carefully from an inconspicuous area of the wall, ensuring that the chip is intact and not damaged. Take the paint chip to a paint store that offers color matching services, and they can create a matched paint color based on the chip.
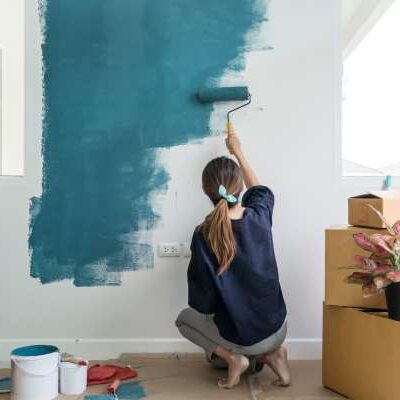
4. Test in Small Sections
Even if you have a perfectly matched paint color, it’s essential to test it in a small, inconspicuous area before committing to a larger touch-up. Lighting conditions, age of the paint, and other factors can affect how the paint color appears on your wall. Apply a small amount of the matched paint to the test area, and let it dry completely. Compare it to the surrounding wall to ensure it blends seamlessly.
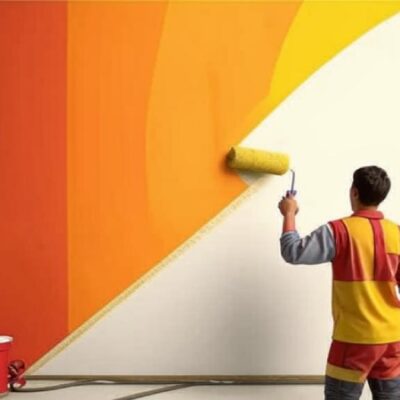
5. Feather the Edges
When touching up or repainting a specific section, it’s important to feather the edges of the new paint into the existing paint. This means gradually blending the new paint into the old to create a gradual transition. Feathering helps prevent visible lines or patches that can occur if the paint is abruptly applied.
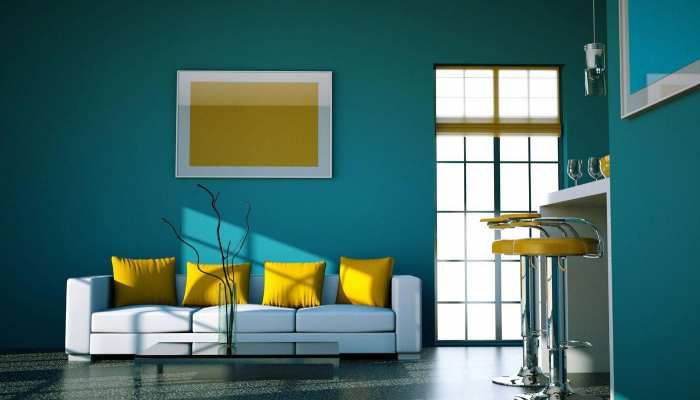
6. Consider Repainting the Entire Wall
In some cases, especially if the existing paint has faded or changed over time, it might be more effective to repaint the entire wall rather than attempting to match the color exactly. Repainting the entire wall ensures a consistent and uniform appearance. You can buy Adobe Photoshop with which you can see how the room will look like before painting the wall and choose the best color option.
7. Document the Matched Color
Once you’ve successfully matched the paint color and completed the touch-up or repainting, make sure to document the details of the paint color for future reference. Note down the color name, code, and any other relevant information. This will be helpful if you need to perform touch-ups in the future.
8. Be Patient and Persistent
Color matching can be a trial-and-error process. Don’t be discouraged if the first attempt doesn’t yield perfect results. With patience and persistence, you can achieve a color match that blends seamlessly with the existing paint on your wall.
In conclusion, matching paint colors already on your wall requires attention to detail, patience, and the willingness to experiment. Whether you’re using paint chips, seeking professional assistance, or repainting entire sections, the goal is to achieve a harmonious blend that leaves no trace of the touch-up or patchwork. With the right approach, you can maintain the aesthetic integrity of your space and enjoy a flawless finish.
Related Posts
Tips on Testing Paint Samples and Choosing Colors Based on Lighting

Review of Environmentally Friendly Paints and Their Benefits
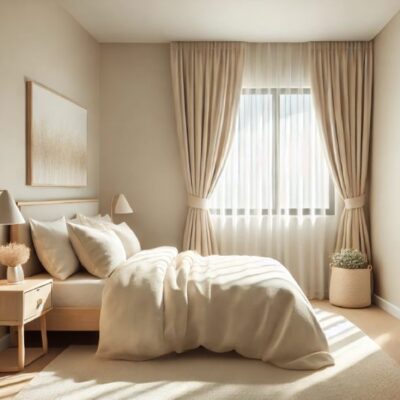
Best Paint Colors for Small Spaces
DIY vs. Hiring a Professional Painter: Which Option is Right for You?
Reviving Relics: A Guide to Repainting Old Furniture
Navigating the Grain: A Guide to Choosing the Right Sandpaper Grit
Unleash Your Creativity: Innovative Techniques for Interior Painting
How to Repaint a Room: A Step-by-Step Guide

Choosing the Best Brands of Interior Paint