Painting over wallpaper is a legitimate shortcut when the paper is sound, flat, and firmly stuck down — you skip the mess of stripping and get a fresh wall much faster. But it only works if you treat the wallpaper as a surface with its own rules, not as if it were plaster or bare wood. Skip the prep and you’ll see bubbles, peeling edges, and blotchy colour within weeks.
Check the Wallpaper Is Actually Paintable
Not every wallpaper is meant to take paint. Textured “paintable” wallpaper is designed for this job, and it should only be painted once it has fully dried after hanging — one common guideline is to wait at least 24 hours before the first coat. If you’re painting over older paper that’s already on the wall, the same logic applies to any repairs: let glue and patches dry completely before you pick up a brush.
Ordinary paper wallpaper is more of a gamble. It tends to soak up moisture from water-based paint, which can soften the paste underneath and cause bubbling or lifting. If you’re not sure what you’re dealing with, treat the wall cautiously and prime it well before committing to full colour.
How to Prepare a Room for Painting
Wallpaper or not, the groundwork is the same as for any repaint. Knowing how to prepare a room for painting properly saves you from ruined skirting boards and paint-speckled floors later:
- Move furniture out or group it in the centre and cover it with sheeting.
- Remove switch plates, curtain rails, and anything fixed to the wall.
- Lay dust sheets or drop cloths across the whole floor, not just near the walls.
- Mask skirting boards, window frames, and door trim with tape.
- Ventilate the room, especially if you’re using primer or oil-based products.
Once the room is protected, turn your attention to the wallpaper itself. The surface has to be clean, smooth, and firmly attached before anything else happens. Loose seams need re-gluing, and any bubbling patches should be pressed down and left to dry. Wipe away dust, and if the previous paper was pasted with anything heavy, scrape off residue so it doesn’t create lumps under the new paint.
How to Use a Paint Primer
Priming isn’t optional if you want an even result. Most wallpaper types absorb paint unevenly, and a coat of primer reduces that absorption, which also means you’ll use less paint overall. This matters even more on textured or heavily embossed paper, where bare patches soak up colour at a different rate than the raised pattern.
Knowing how to use a paint primer correctly comes down to a few basics: stir it well, apply a thin, even coat with a roller for large areas and a brush for edges and corners, and let it dry fully before touching it again. Don’t rush this stage because it’s tempting to — a poorly primed wall shows through as patchy colour no matter how careful you are with the topcoat.
Choosing the Right Paint
Water-based paints — acrylic, latex, or dispersion — are the standard choice for painting over wallpaper. They’re flexible enough to move slightly with the paper without cracking, and they don’t carry the strong solvents that could dissolve old paste. If you’re working over paper wallpaper rather than a vinyl or textured paintable type, go easier with the amount of water in the paint and avoid soaking the surface, since paper is the most prone to absorbing too much moisture and lifting at the seams.
This is a different situation from painting other surfaces around the house. If you’re also tackling trim or doors in the same project, the approach changes completely — for instance, how to apply paint on painted wood requires checking the old finish is sound and sanding lightly before recoating, while how to paint a metal front door calls for a rust-inhibiting primer and paint rated for exterior metal. And if you’re refreshing exterior details at the same time, choosing the right paint for vinyl shutters means looking for a flexible, UV-resistant formula rather than a standard wall paint, since vinyl expands and contracts with temperature far more than a papered wall does.
Applying the Paint
The technique itself is straightforward once the wall is ready:
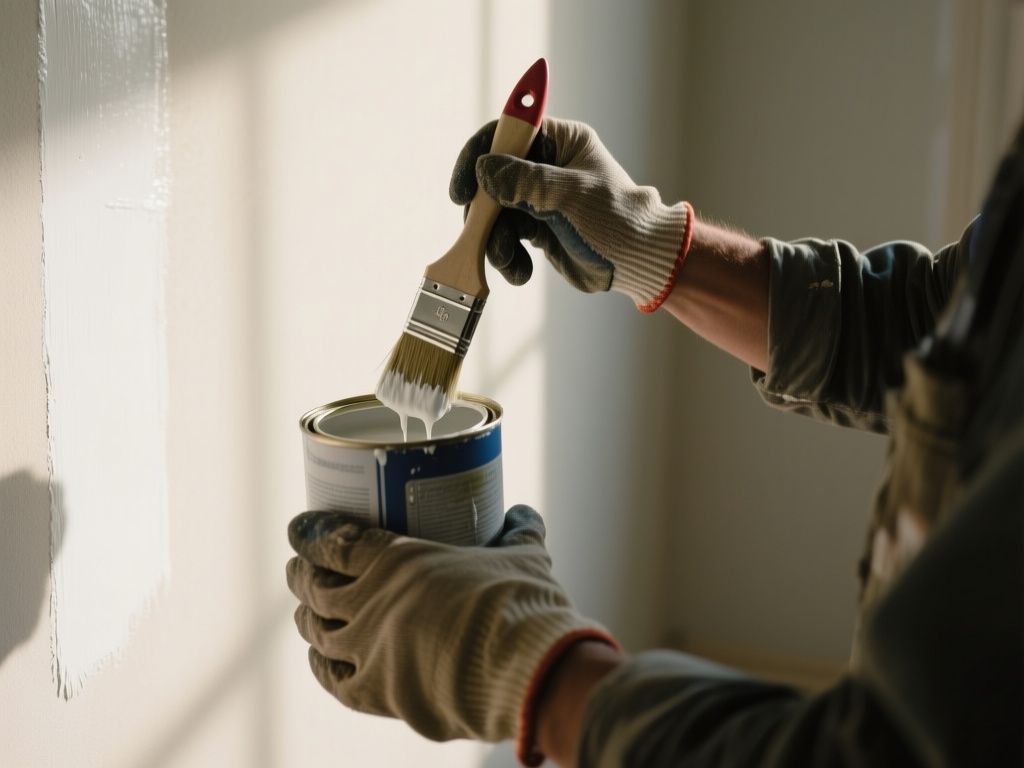
- Cut in the edges first — corners, ceiling line, skirting board — with a brush.
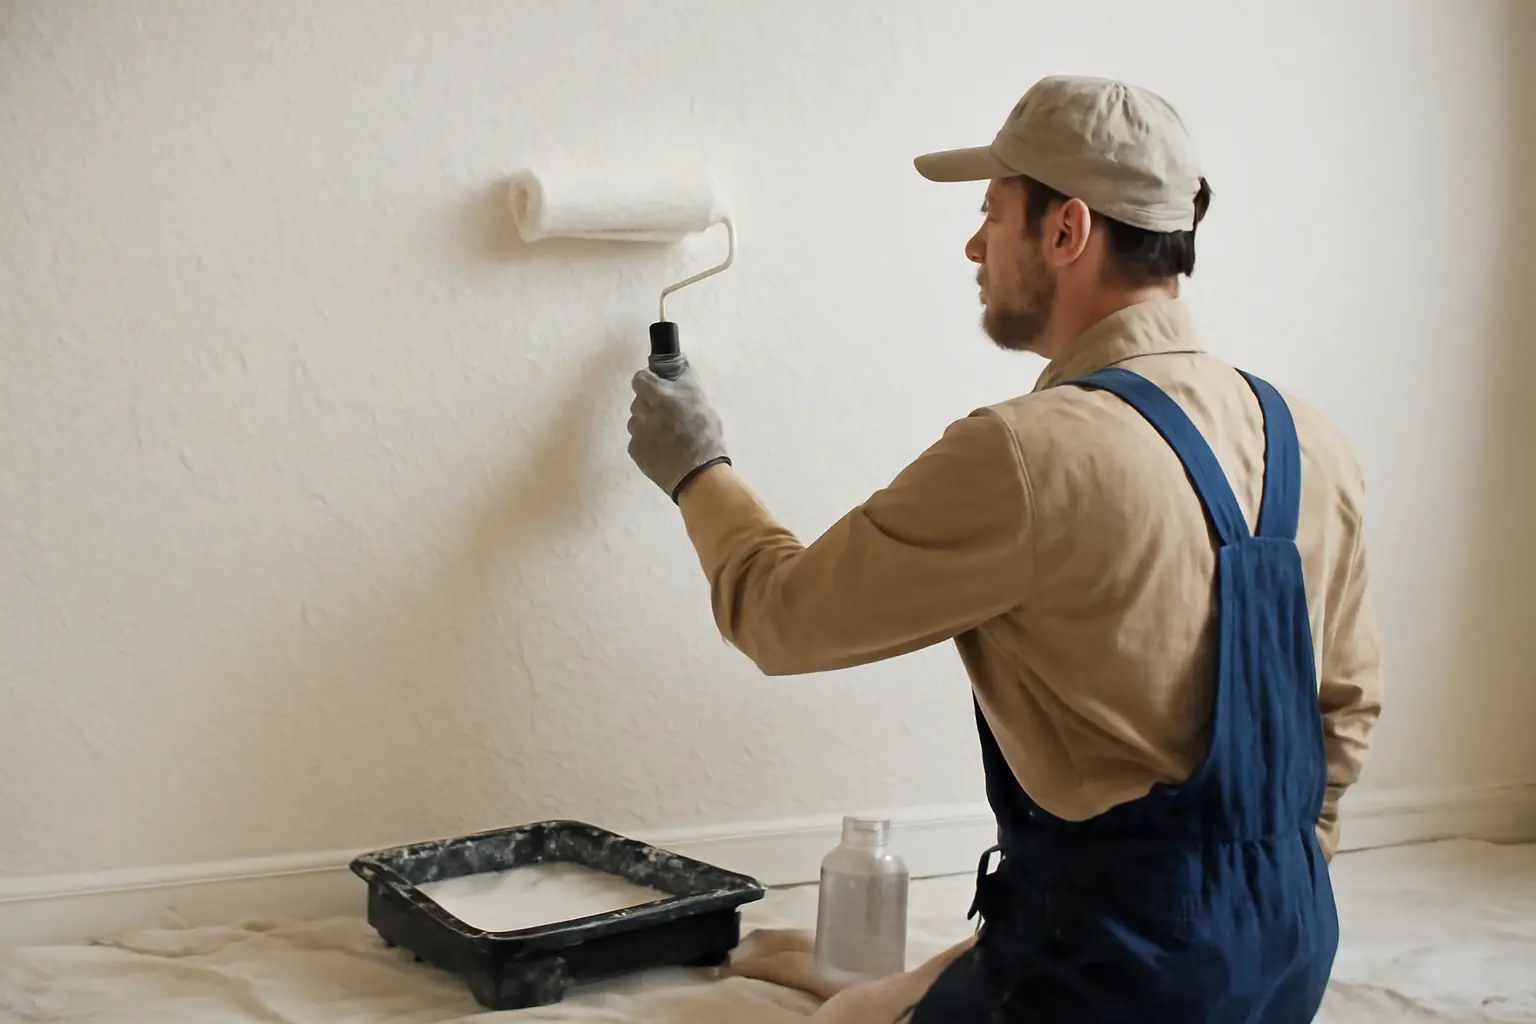
- Roll the main area with a roller, working top to bottom.
- Keep coats thin. A heavy, wet coat is what causes bubbling on wallpaper.
- Don’t go back over sections that have already started to dry — repeated passes drag at the surface and leave visible marks.
Two thin coats generally give a more even finish than one thick one. Drying times between coats vary by product — some guides suggest 4 to 6 hours, others recommend waiting a full 12 hours, and at least one source mentions as little as 1.5 to 2 hours for certain fast-drying paints. Rather than guessing, check the drying time printed on the paint can and stick to it; that’s the only number that applies to the specific product in your hand.
Final Thoughts
Painting over wallpaper works when you respect the surface underneath it: let it dry fully before you start, fix loose seams and dust before priming, prime properly to even out absorption, and apply thin coats with patience between them. Rush any one of those steps and the wallpaper’s texture and weak points will show through the paint sooner rather than later.