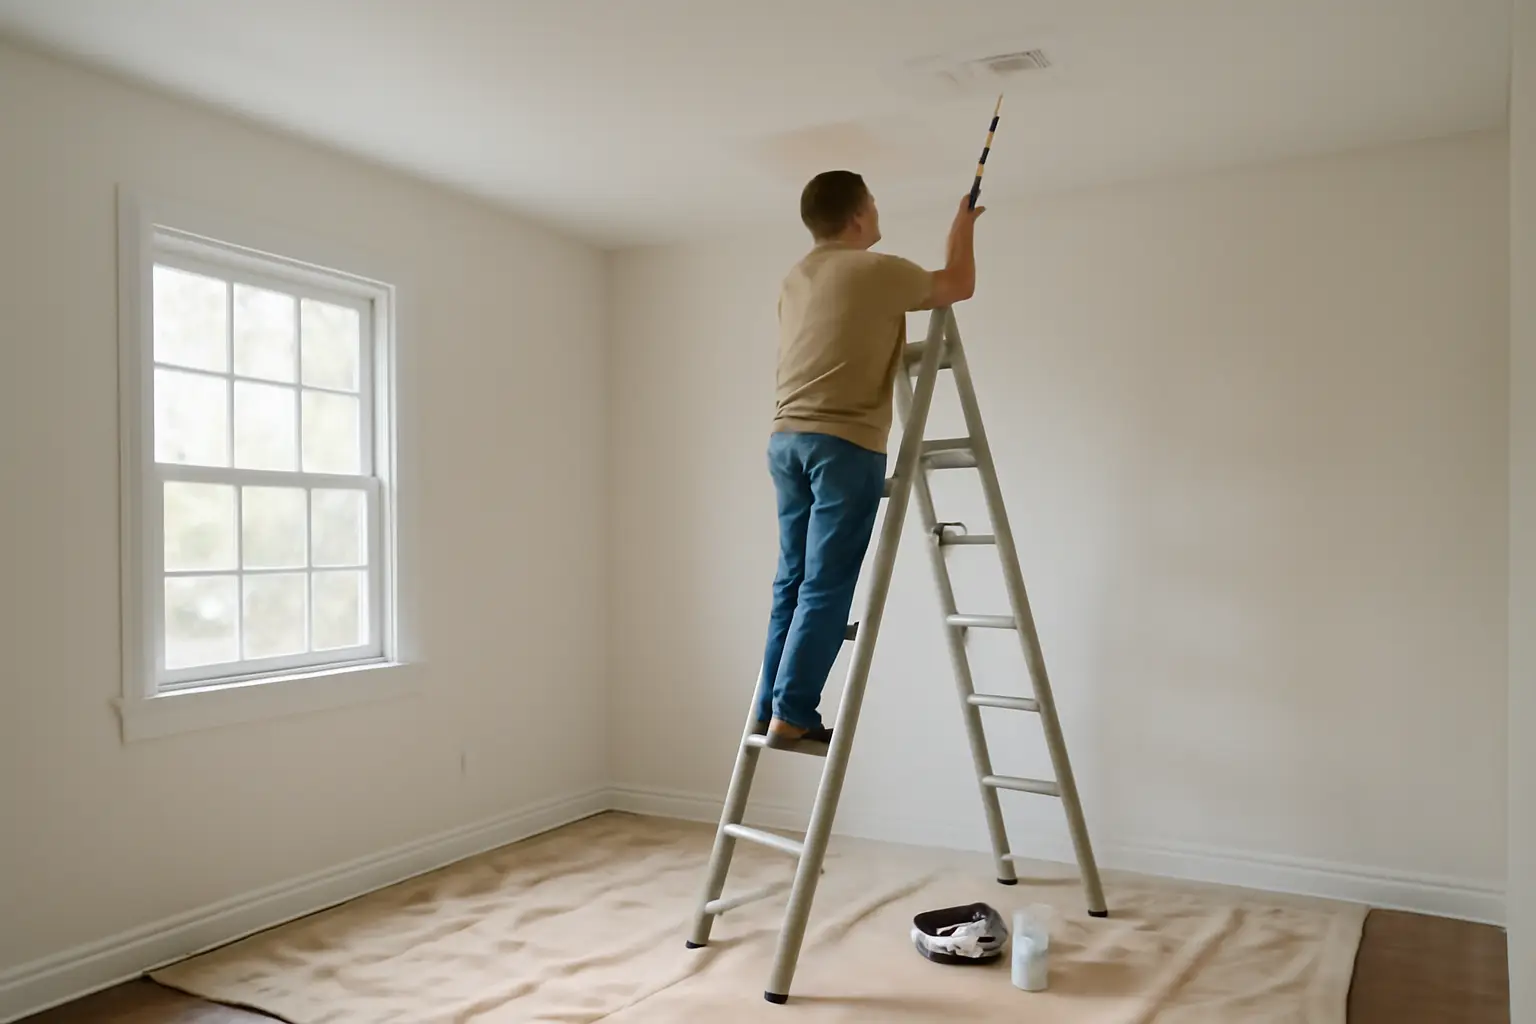
A ceiling shows every mistake more clearly than a wall does. Light rakes across it at a low angle, so ridges, joints, and half-dried patches turn into shadows the moment the sun hits them. Getting a smooth, streak-free ceiling is less about the paint itself and more about how you move the roller, how you manage drying time, and how you plan your route across the room before you start.
How to Prepare a Room for Painting
Before any roller touches the ceiling, clear the room properly. Move furniture to the centre and cover it, or take it out entirely if you can. Lay dust sheets across the whole floor, not just under the working area, because ceiling paint splashes further than wall paint does. Remove light fixtures or mask them, and tape off the tops of the walls where they meet the ceiling if you want a crisp line.
Check the ceiling surface itself. Fill any cracks or nail holes and let the filler cure fully, then sand it smooth. Dust left on the surface will show up under paint as tiny bumps, so wipe the ceiling down before you start. This preparation stage feels slow, but it is what separates a professional-looking result from one with visible patches later.
Choosing the Right Tools and Paint
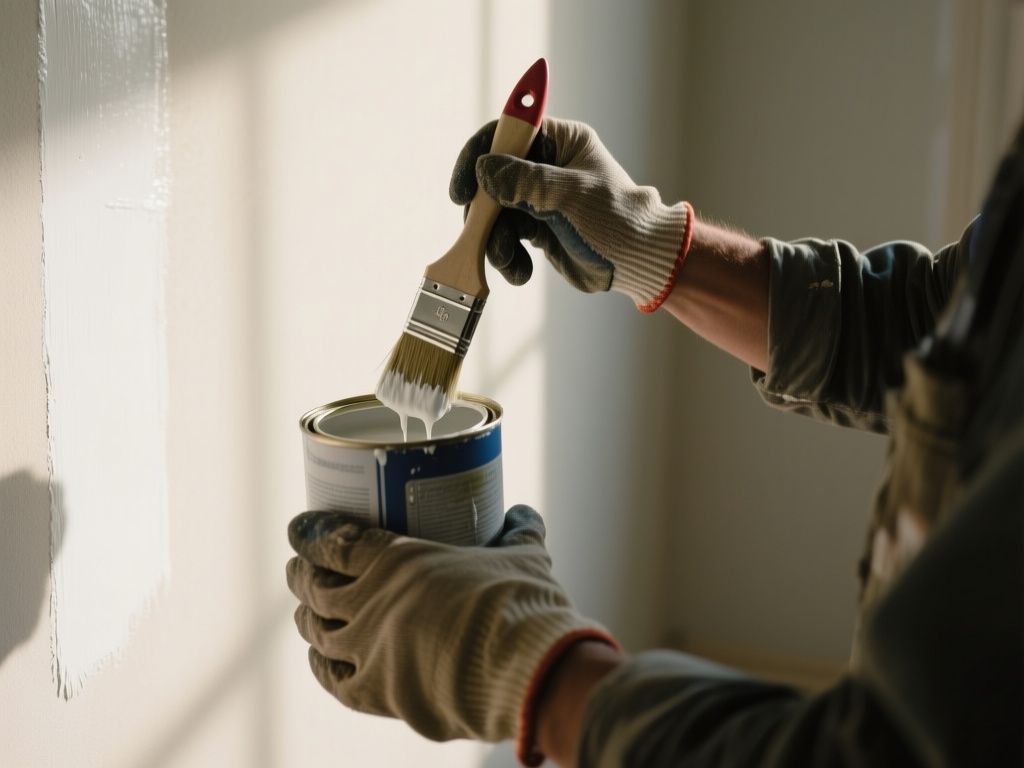
A flat ceiling brush for the edges and a medium-nap roller for the main area are enough for most jobs. The roller matters more than people expect: it should be loaded with paint and then rolled out on the tray until it stops dripping. A roller that is too wet is one of the most common causes of streaks, splashes, and uneven drips running down onto the walls. Aim for a roller that feels barely damp to the touch but still leaves a full, even coat.
Residential Wall Paint Types and Their Benefits is a useful reference here, because ceiling paint is a specific category within that range — usually formulated to resist dripping and to dry with minimal sheen, since gloss on a ceiling exaggerates every imperfection.
Paint Finishes Explained: Matte, Eggshell, Satin, Semi-Gloss and Gloss
Finish choice affects how forgiving the final result will look:
- Matte — the standard choice for ceilings; it scatters light rather than reflecting it, so small unevenness in the surface is far less visible.
- Eggshell — slightly more reflective, sometimes used in bathrooms or kitchens where a bit of wipeability is useful.
- Satin — noticeably more sheen; on a ceiling it can highlight roller marks and joints.
- Semi-gloss and gloss — reserved for trim and woodwork, almost never used overhead because they reflect light directly back at the viewer.
If streaks and glare are your main concern, matte is the safer option. A higher-sheen finish demands a technique close to flawless, since it hides nothing.
How to Paint a Room Like a Professional
The core idea behind painting like a professional is working in a way that keeps every edge wet until the next stroke joins it. Paint dries from the edges of a wet patch inward, and once an edge sets, any new paint applied over it will show as a line or a patch of different texture. That is why the ceiling has to be tackled without long pauses — once you start a section, keep moving until it is finished.
A practical route is to begin near the window and work toward the far wall. Painting in that direction means your final passes run parallel to the main light source, so any faint seams end up running with the light rather than across it, which makes them far less noticeable once the room is lit normally.
Overlap and coverage
Each new roller pass should overlap the previous one while it is still wet — a strip of roughly 5 to 10 centimetres, sometimes up to 15, is enough to blend the two passes into one continuous surface. Skipping this overlap, or letting too much time pass between passes, is what creates the classic “ladder” pattern of visible bands across a ceiling.
Stroke pattern
Load the roller, then apply the paint in a W or M shape across a section roughly a metre wide, without pressing hard. Go back over that same area with lighter, unloaded passes to level out the paint and remove ridges. This two-stage approach — lay the paint down, then smooth it — gives a thinner, more even coat than trying to spread everything in one heavy pass.
How Long Does Paint Take to Dry
Drying time depends on the paint type, room temperature, humidity, and ventilation, so there is no single number that applies everywhere — check the drying and recoat times printed on your specific tin, since manufacturers test this for their own formulas. What matters more for technique is understanding that paint starts setting at the edges of a wet area well before it feels dry to the touch. That is the real reason to avoid stopping partway through a section: even a short break can let an edge start to set, and going back over it afterward disturbs the half-dried layer instead of blending with it.
If a second coat is needed, wait until the manufacturer’s recoat time has passed rather than judging by touch alone, since a surface can feel dry while still being too soft underneath for another layer.
Common Mistakes That Cause Streaks and Drips
- Stopping in the middle of a section and resuming after the edge has begun to dry, which leaves a visible joint.
- Going back to “fix” a patch that has already started to set, which usually makes the unevenness worse rather than better.
- Overloading the roller, which leads to drips running down onto walls and trim.
- Painting against the light instead of with it, so every seam catches the eye.
- Choosing a higher-sheen finish than the ceiling’s surface condition can support.
Final Thoughts
A streak-free ceiling comes down to a handful of habits repeated consistently: a properly prepared surface, a roller that is loaded but not soaked, continuous work with no dried-in stops, and a route that follows the light rather than fighting it. None of this requires special skill, just attention to the order and rhythm of the work.
Read also
- Paint Finishes Explained: Matte, Eggshell, Satin, Semi-Gloss and Gloss
- How Long Does Paint Take to Dry
- How to Prepare a Room for Painting
- How to Paint a Fence for a Weatherproof, Long-Lasting Finish
- Review of Environmentally Friendly Paints and Their Benefits
- A Guide to Matching Paint Colors Already on Your Wall