A fresh coat of paint can transform a room, but it can just as easily look worse than the old one if a few basic steps get skipped. Most disappointing results don’t come from bad paint or bad luck — they come from rushing, guessing, or ignoring conditions that affect how paint dries and bonds. Here’s what goes wrong most often, and what to do instead.
Skipping Proper Surface Preparation
The single biggest reason a paint job fails is that the wall was never properly prepared. Paint doesn’t stick well to dust, grease, flaking old paint, or damaged plaster. If you’re wondering How to Prepare a Room for Painting before you even open a tin, the answer is simple but non-negotiable: clean the walls, sand any rough or glossy patches, and fill cracks or holes so the surface is even. Painting over an unprepared wall might look fine on day one, but peeling, bubbling, or visible patchwork usually shows up soon after.
Choosing the Wrong Type of Paint
Not all paints are compatible with each other, and mixing types without checking can cause real damage. A common example is applying latex paint directly over an oil-based surface — the two don’t bond properly, and the result is cracking and peeling rather than a smooth new layer. Before buying paint, it’s worth knowing what’s already on the wall. If you’re unsure, a small test patch in an inconspicuous spot will tell you more than guessing ever will.
Skipping the Primer
Primer often gets treated as optional, especially when people are eager to get straight to the colour they’ve chosen. But How to Use a Paint Primer correctly is one of the most overlooked steps in painting, and it matters most on bare drywall, patched areas, or surfaces where filler has been used. Primer creates a uniform base so the topcoat absorbs and dries evenly, instead of soaking unevenly into patched spots and leaving blotches or a mismatched sheen once the paint dries.
Recoating Too Soon
Impatience between coats is another frequent culprit. Applying a second coat before the first has properly set can drag wet paint, leave visible brushstrokes, or cause peeling later on. Recoat times vary by product — many waterborne interior paints allow a second coat within one to two hours — but if the label isn’t clear or you’re working in less-than-ideal conditions, waiting a full 24 hours is the safer choice. It costs you time, not quality.
Ignoring Drying Conditions
Paint doesn’t dry in a vacuum — the room itself affects the result. High humidity slows drying and can leave the surface tacky or uneven. Cold temperatures do the same, while direct sunlight can dry the outer layer too fast, trapping moisture underneath and causing an uneven finish. Whenever possible, paint in mild, stable conditions with decent airflow, and avoid direct sun hitting the wall while it’s wet.
Using the Wrong Tools
Even good paint applied correctly can look poor if the tools are wrong for the job. A few common issues:
- Using a roller with the wrong nap length for the wall texture, leaving stipple marks or missed patches.
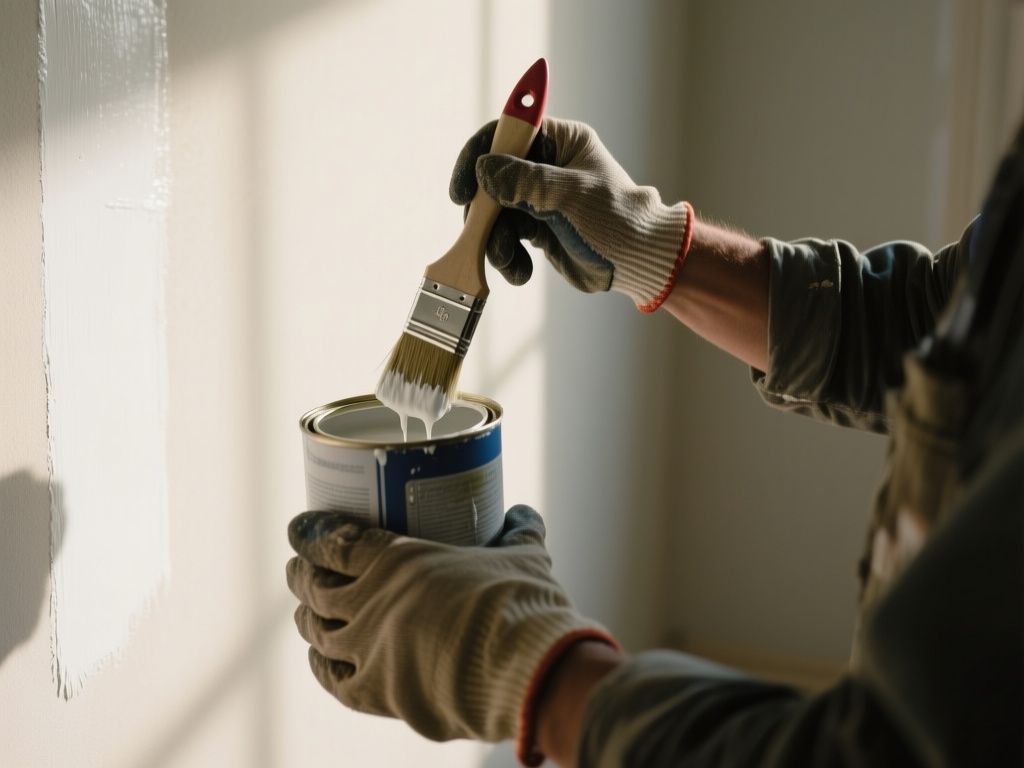
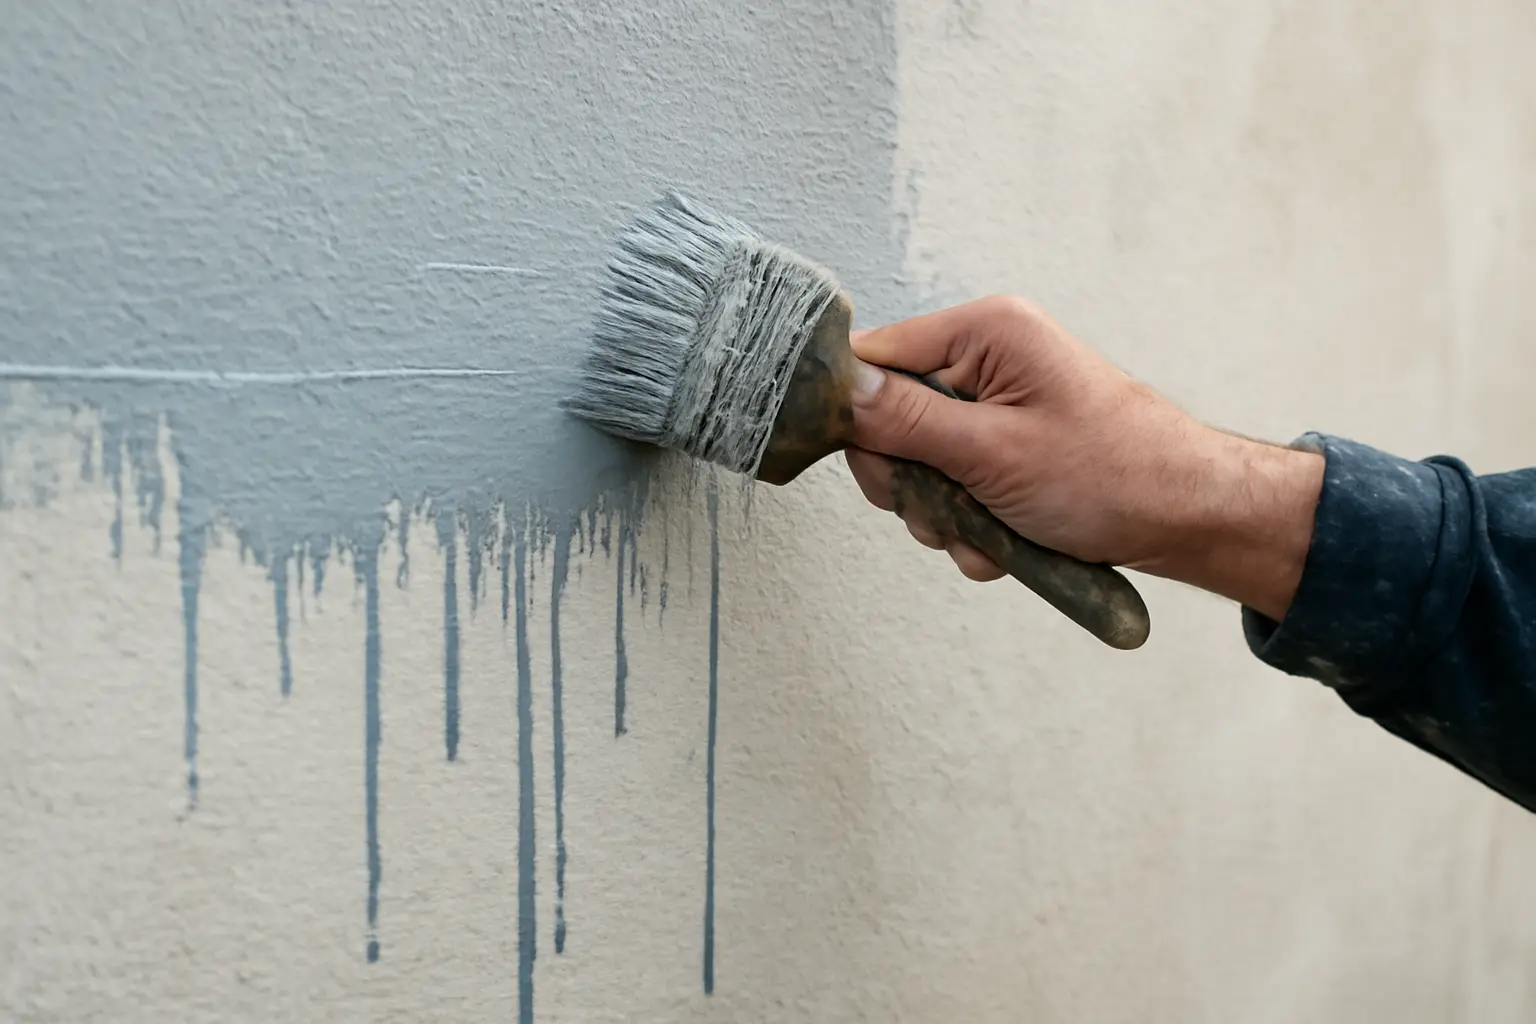
- Overloading a brush or roller with paint, which causes drips, bubbles, and uneven texture.
- Using a worn or cheap brush that sheds bristles into the wet paint.
Matching the tool to the surface and paint type is part of How to Paint a Room Like a Professional — it’s less about skill and more about not fighting the wrong equipment.
How to Repaint a Room: A Step-by-Step Guide
Avoiding these mistakes comes down to following a sequence rather than jumping straight to colour:
- Clear the room and protect floors, trim, and fixtures.
- Clean the walls and sand rough or glossy areas.
- Fill cracks or holes and let repairs dry fully.
- Apply primer where the surface is bare, patched, or a different colour underneath.
- Apply the first coat and respect the recoat time on the label.
- Apply the second coat once conditions and timing allow it to bond properly.
Skipping any one of these steps is usually where the trouble starts.
Unleash Your Creativity: Innovative Techniques for Interior Painting
Once the basics are covered, there’s room to experiment. Techniques like colour blocking, textured finishes, or accent walls can change the feel of a room without a full repaint. But creative techniques only look good on a properly prepped, primed, and evenly dried base — skipping the fundamentals to get to the fun part usually means redoing the work later.
Final Thoughts
Most painting disasters aren’t about talent — they’re about skipped steps and rushed timing. Prep the wall, match the paint to the surface, use primer where needed, respect drying times, and use tools suited to the job. Get those right, and the finish will hold up far longer than the shortcuts ever would.
Read also
- Unleash Your Creativity: Innovative Techniques for Interior Painting
- How to Repaint a Room: A Step-by-Step Guide
- How to Use a Paint Brush
- Choosing the Best Brands of Interior Paint
- DIY vs. Hiring a Professional Painter: Which Option is Right for You?