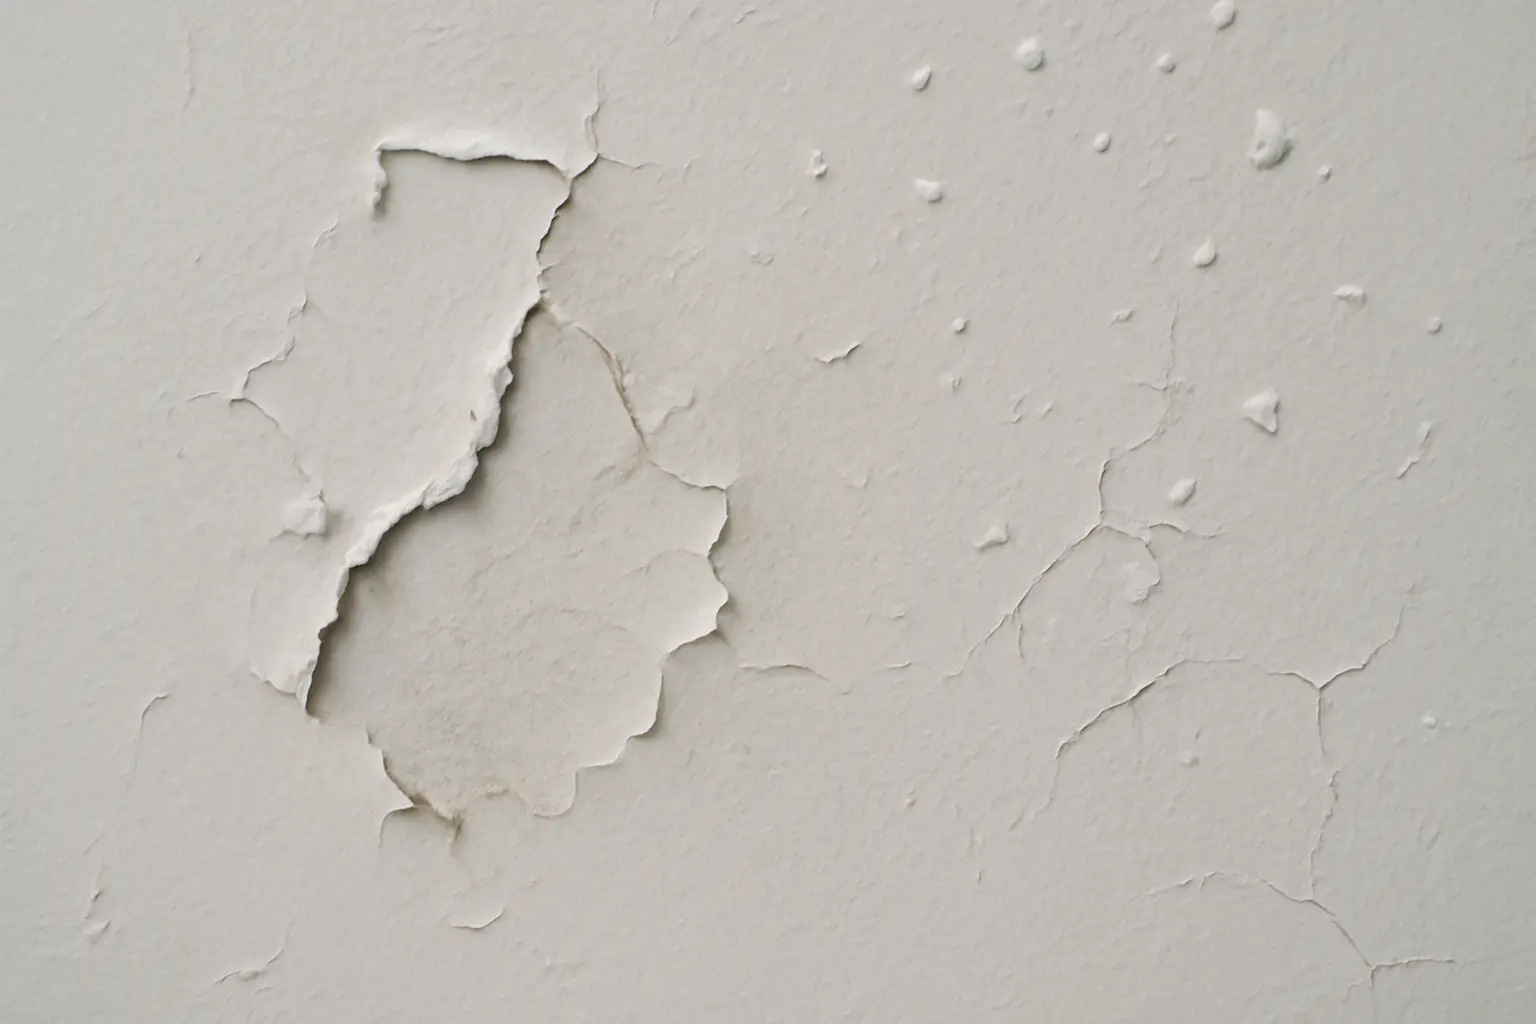
Peeling, bubbling, and cracking are the three most common paint failures on interior walls, and all of them share the same root cause: something went wrong underneath the topcoat, not on the surface of it. Painting over these defects without addressing what’s happening beneath the coating almost always brings the problem back within weeks. This guide walks through what causes each type of failure and how to repair it properly, so the fix actually lasts.
Why Paint Fails in the First Place
Most paint failures trace back to one of three issues: poor adhesion to the substrate, moisture trapped in or behind the coating, or movement in the underlying material that the paint film can’t absorb. Dusty, greasy, or damp walls are a frequent culprit — paint simply can’t bond to a surface that isn’t clean and dry, no matter how good the product is. This is why proper wall preparation matters more than the paint itself in most cases of repeat failure.
Fixing Peeling Paint
Peeling usually means the paint has lost its grip on the surface below it. The fix starts with removing every bit of loose material — a scraper, wire brush, or sandpaper will do the job, depending on how stubborn the old coating is. Don’t stop exactly at the edge of the visible damage; extending the scraped area by a couple of centimetres beyond the peeling zone helps you reach paint that’s still attached but weakening, so the repair doesn’t fail again along the same edge.
Once the loose paint is gone, clean the area to remove dust and residue, let it dry fully, and only then repaint. Skipping the cleaning step is one of the most common reasons peeling returns in the same spot.
Dealing with Bubbling and Blistering
Bubbles under a paint film are almost always a sign of moisture — either trapped during application or seeping in from behind the wall after the fact. Before doing any cosmetic repair, find and fix the source of the water. Painting over a blister without solving the moisture problem just delays the failure, it doesn’t prevent it.
If you’ve confirmed the moisture issue is resolved and the bubbles sit only in the top coat rather than reaching down to the substrate, the repair is straightforward:
- Scrape off the blistered paint completely
- Sand the exposed area until it’s smooth
- Apply primer to the bare patch before repainting
- Repaint once the primer has dried according to the product instructions
Repairing Cracked Paint
Cracking often shows up as fine lines across the surface or as flaking at the edges of a crack. Start by removing all cracked and flaking material — any paint that isn’t firmly attached needs to come off, not just the visibly split parts. Once you’ve got down to a sound surface, fill the cracks with a suitable spackling compound or filler, let it dry completely, and sand it smooth so there’s no ridge or texture difference. From there, prime the repaired area and apply the new coat.
The Standard Repair Sequence
Regardless of which of the three problems you’re dealing with, the underlying process is the same: dry the surface, remove the damaged coating, sand it smooth, prime, and repaint. For deeper damage — where the old paint has failed down to bare plaster or wood — you may need to strip back further until you reach a firm, stable base rather than just treating the top layer.
The one rule that applies across all three problems is that repair only works on a surface that’s clean, dry, and well-adhered. If the substrate underneath is still dusty, oily, or damp, the new paint will fail again, often in the same place.
Getting the Prep Work Right
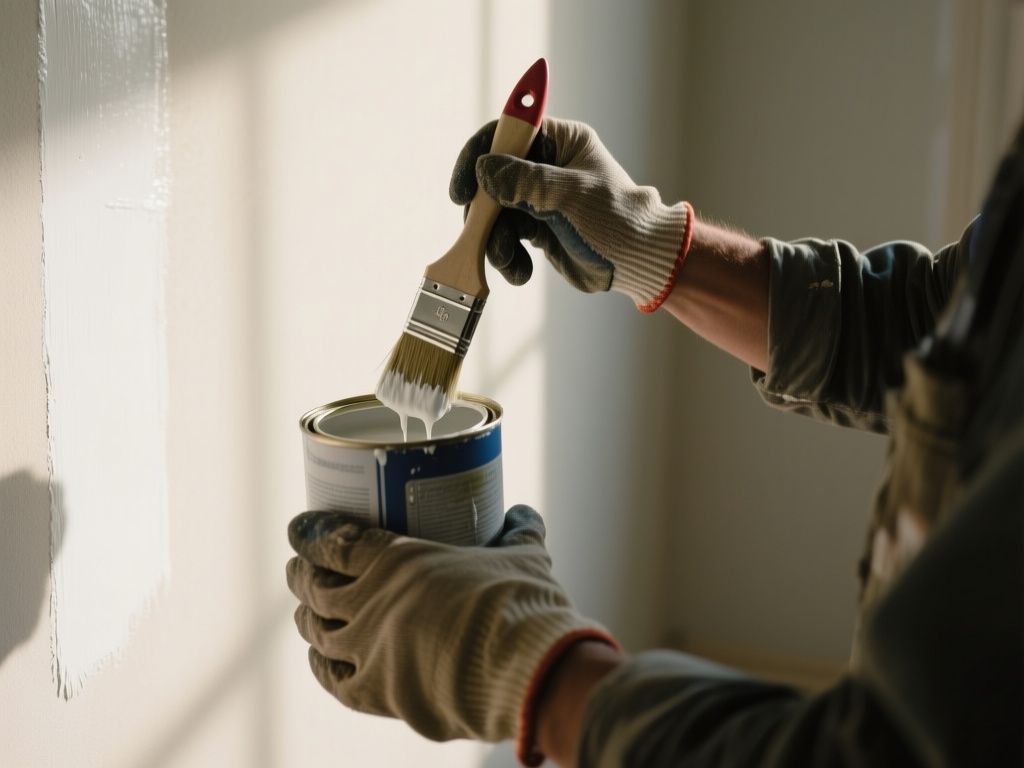
A repair is only as good as the preparation behind it, and this is where how to prepare a room for painting becomes relevant even for a small patch job. Move furniture out of the way, mask off trim and flooring, and give yourself enough working space and light to actually see what you’re dealing with. It’s easy to miss a soft, damp patch of wall in poor lighting.
Primer plays a bigger role in repairs than many people expect. Knowing how to use a paint primer correctly — applying it evenly, letting it cure fully, and not skipping it on bare or repaired patches — is often the difference between a repair that blends in and one that shows through as a slightly different sheen or colour later on.
Choosing the Right Paint for the Repair
Not all wall paints behave the same way once applied, and matching the repair paint to the room’s conditions matters. Reviewing residential wall paint types and their benefits is worth doing before you buy a replacement can, especially if the original failure was moisture-related — a paint with better washability or moisture resistance in a bathroom or kitchen will hold up better than a standard matt finish. If you’re also looking at healthier options, a review of environmentally friendly paints and their benefits can help you choose a product with lower emissions without giving up performance.
Timing the Repair
Rushing the drying stages is another common way repairs fail. How long does paint take to dry depends on the product, humidity, and ventilation in the room, and primer needs its own full drying time before the topcoat goes on. Recoating too early traps solvents or moisture under the new layer, which can trigger the same bubbling or peeling you just fixed.
Final Thoughts
Peeling, bubbling, and cracking are all repairable, but only if you treat the actual cause rather than the symptom on the surface. Removing the damaged layer, addressing moisture where relevant, and following through with proper priming and drying time will give you a repair that holds — skipping any of these steps just means doing the job twice.
Read also
- How to Prepare a Room for Painting
- How to Use a Paint Primer
- How to Use a Paint Brush
- How to Paint a Room Like a Professional